
Italian Chocolate Nut Christmas Cake Recipe Inspired by Delia Smith
I made this Italian Chocolate Nut Christmas Cake after finding it in Delia Smith's festive collection, and it reminded me why I enjoy cooking from her recipes: the instructions ask for care, but every stage has a clear purpose. Her version is linked to Italian food writer Anna del Conte, and the finished cake feels wonderfully traditional and celebratory without depending on elaborate decoration. The crumb is deep, dark, and packed with small pieces of hazelnut and walnut. Orange peel lifts the chocolate, cinnamon adds gentle warmth, and brandy gives the cake a rounded festive aroma. It is rich enough for narrow slices, yet the whisked egg whites keep the interior from becoming leaden; what I loved most was the contrast between the tender chocolate matrix and the irregular nutty bite. The useful turning point is the texture of the processed nuts and chocolate. I stopped while the mixture still looked pebbly, because grinding it to a fine powder would lose the character of the crumb. The egg whites also need attention: whisk them to firm peaks that still look supple, then fold in small additions with broad lifting strokes so the batter keeps the air that gives this heavy mixture its lift. Once cooled, the cake needs only a generous veil of icing sugar. I found it especially good at teatime, though a small slice after supper with a sweet wine makes an equally fitting finish. It is also practical for Christmas planning: the cooled cake can be wrapped in foil and refrigerated for up to two weeks, and it freezes well when wrapped the same way.
 Foodmit
recipe
Per 1/12 of cake
Nutrition for Italian Chocolate Nut Christmas Cake
- Saturated fat
- 9 g
- Fiber
- 5.5 g
- Sugars
- 25 g
- Sodium
- 50 mg
Estimated values. Nutrition values are approximate. More precise calculations will be added in a future update.
How to make Italian Chocolate Nut Christmas Cake
-
Step 1
Prepare the oven and tin
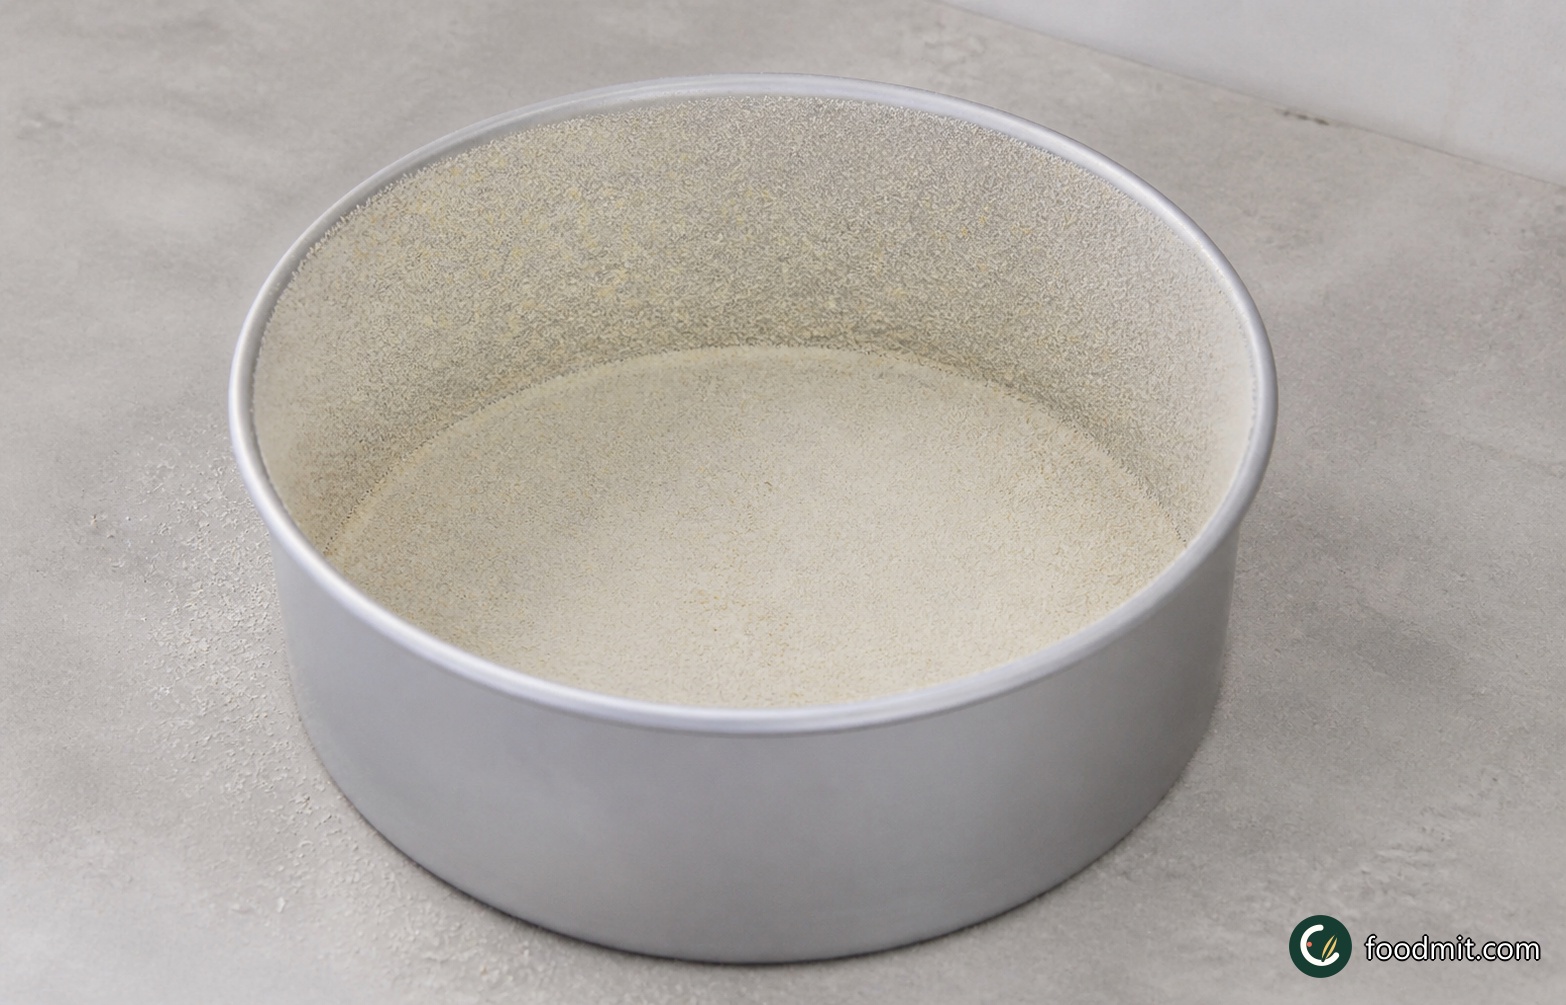
Heat the oven to 180°C/350°F/Gas 4 and position a rack in the center. Generously grease a 20 cm (8-inch) loose-based round cake tin with the extra butter. Add the breadcrumbs, turn and shake the tin until the base and sides are evenly coated, then tap out the excess.
-
Step 2
Process the nuts and chocolate
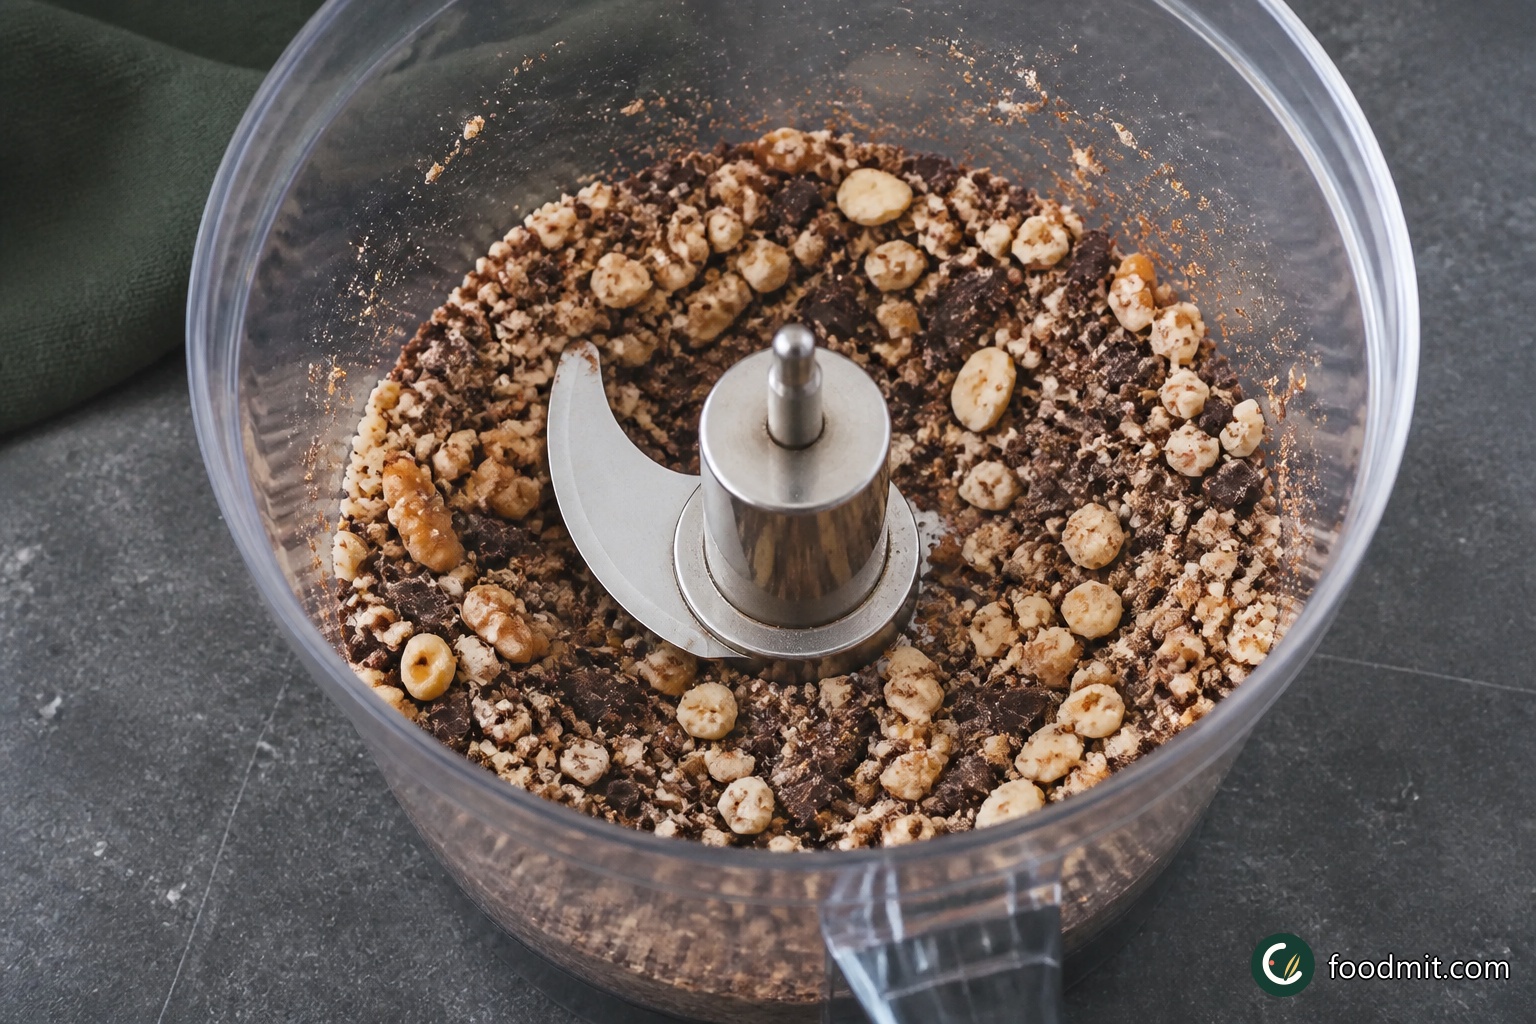
Put the hazelnuts and walnut pieces in a food processor, add the broken chocolate, and pulse in short bursts. Stop when everything resembles coarse, pebbly crumbs with visible small pieces; do not take it to a fine meal or paste. If working without a processor, chop the nuts and chocolate together carefully with a sharp knife.
-
Step 3
Build the chocolate mixture
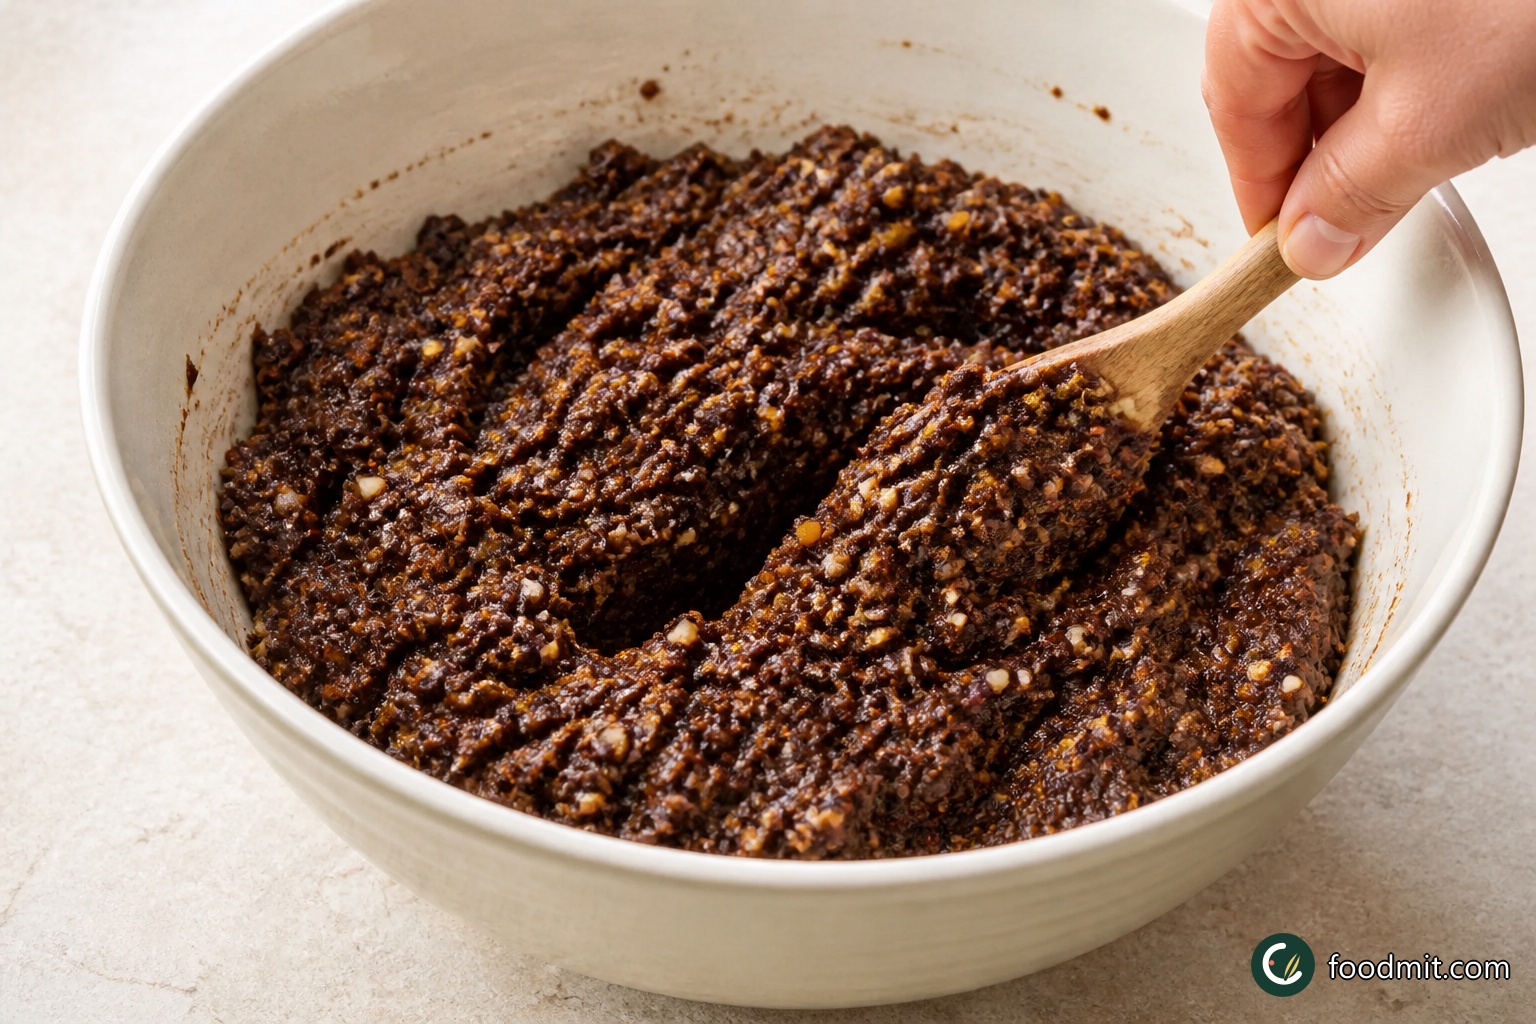
Tip the nut and chocolate mixture into a large bowl. Stir in the vanilla, brandy, cinnamon, melted butter, and golden caster sugar until thoroughly combined. Add the egg yolks gradually, mixing each addition in well, then stir through the finely chopped orange peel.
-
Step 4
Whisk the egg whites
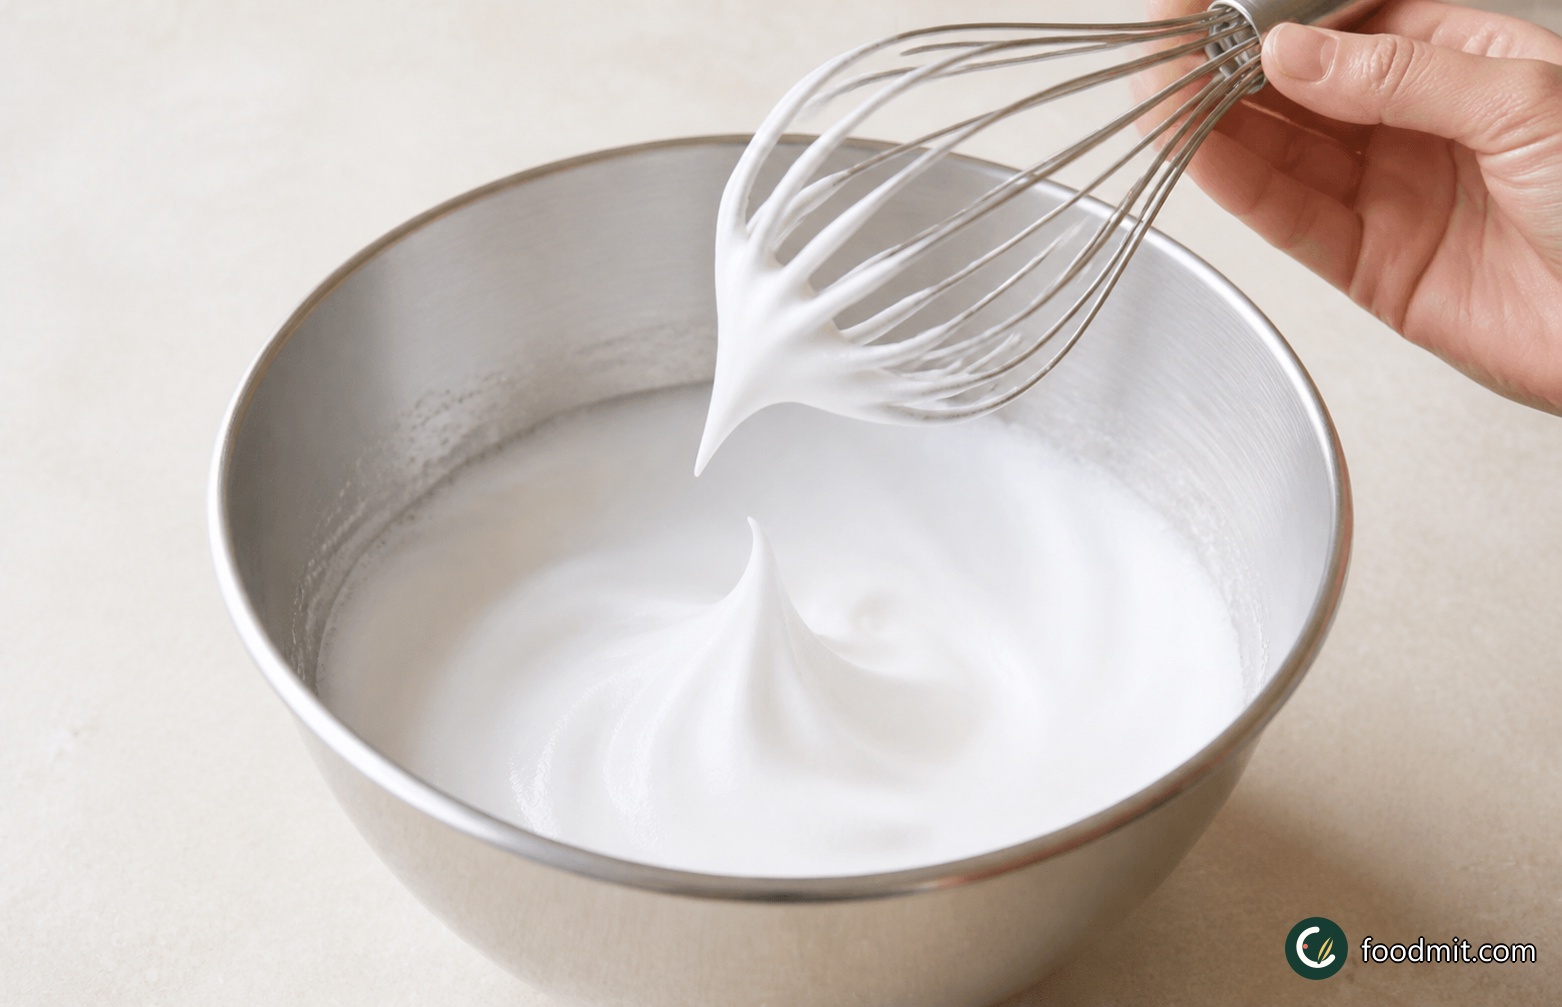
In a clean bowl, whisk the egg whites until they hold stiff peaks. Stop while the whites still look smooth and supple rather than dry or clumpy, since overwhipped whites are harder to fold into the dense chocolate base.
-
Step 5
Fold and fill the tin
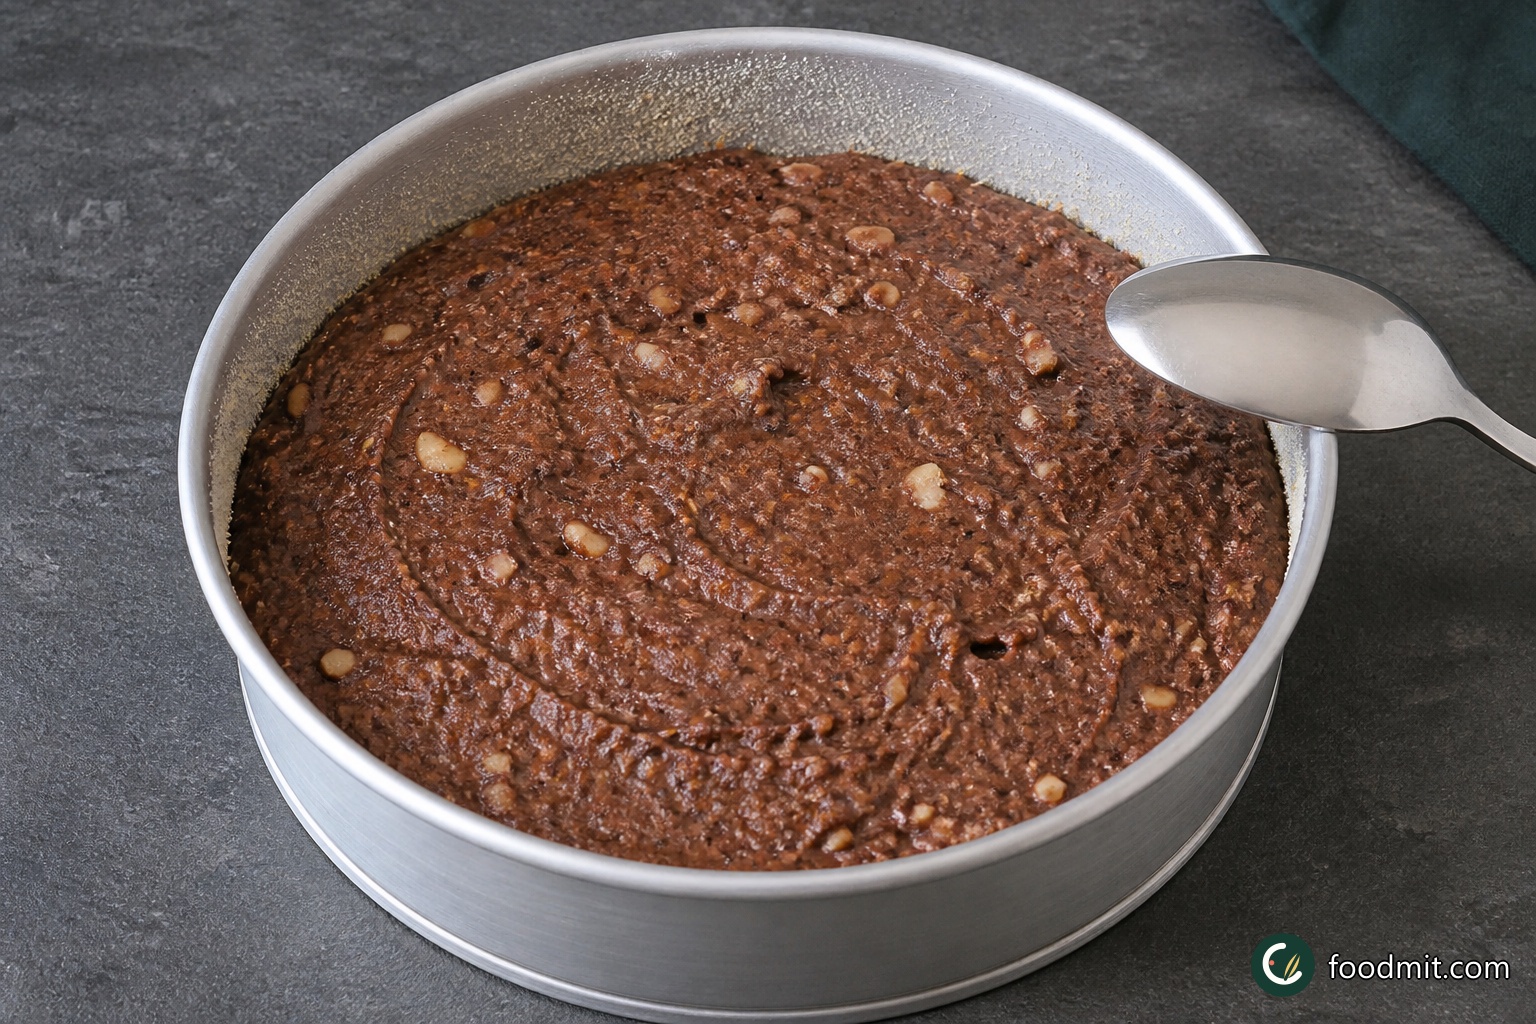
Using a large metal spoon, fold the egg whites into the chocolate mixture a few tablespoons at a time. Cut down through the center, sweep across the bottom, and lift the mixture over the top with a high, gentle motion. Continue only until no white streaks remain, then spoon the batter evenly into the prepared tin.
-
Step 6
Bake until set
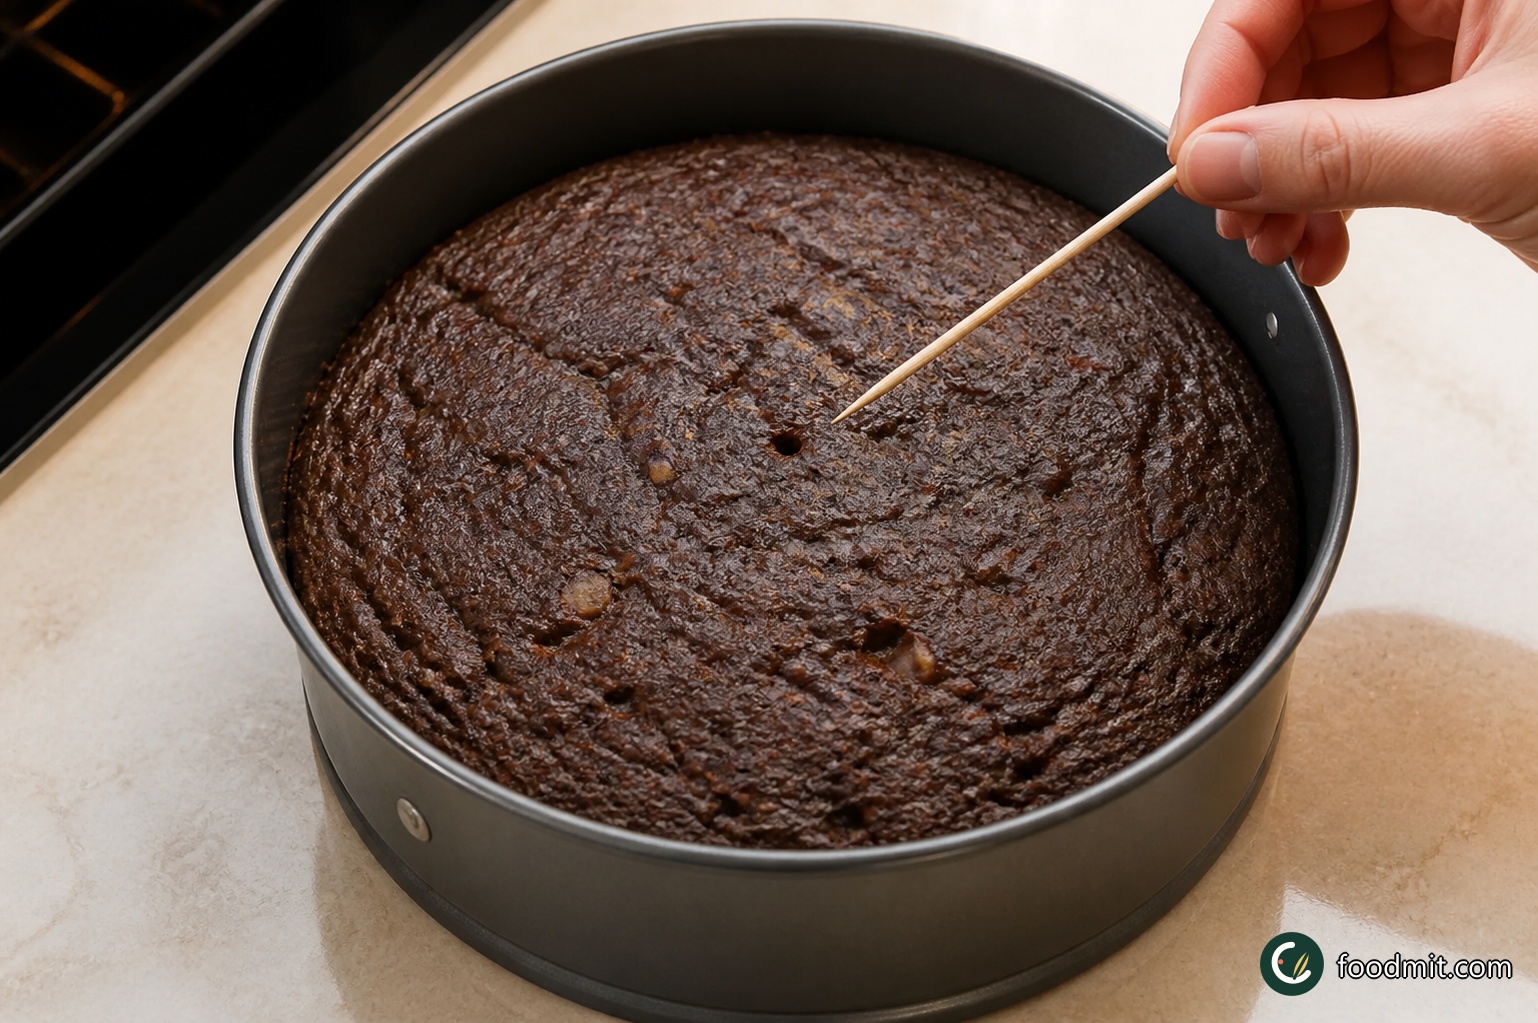
Bake on the center rack for 1 hour to 1 hour 10 minutes. Watch the surface near the end and lay a loose sheet of baking parchment over it for the final 10 minutes if it is browning too quickly. The cake is done when a cocktail stick inserted into the middle comes out dry.
-
Step 7
Cool and finish
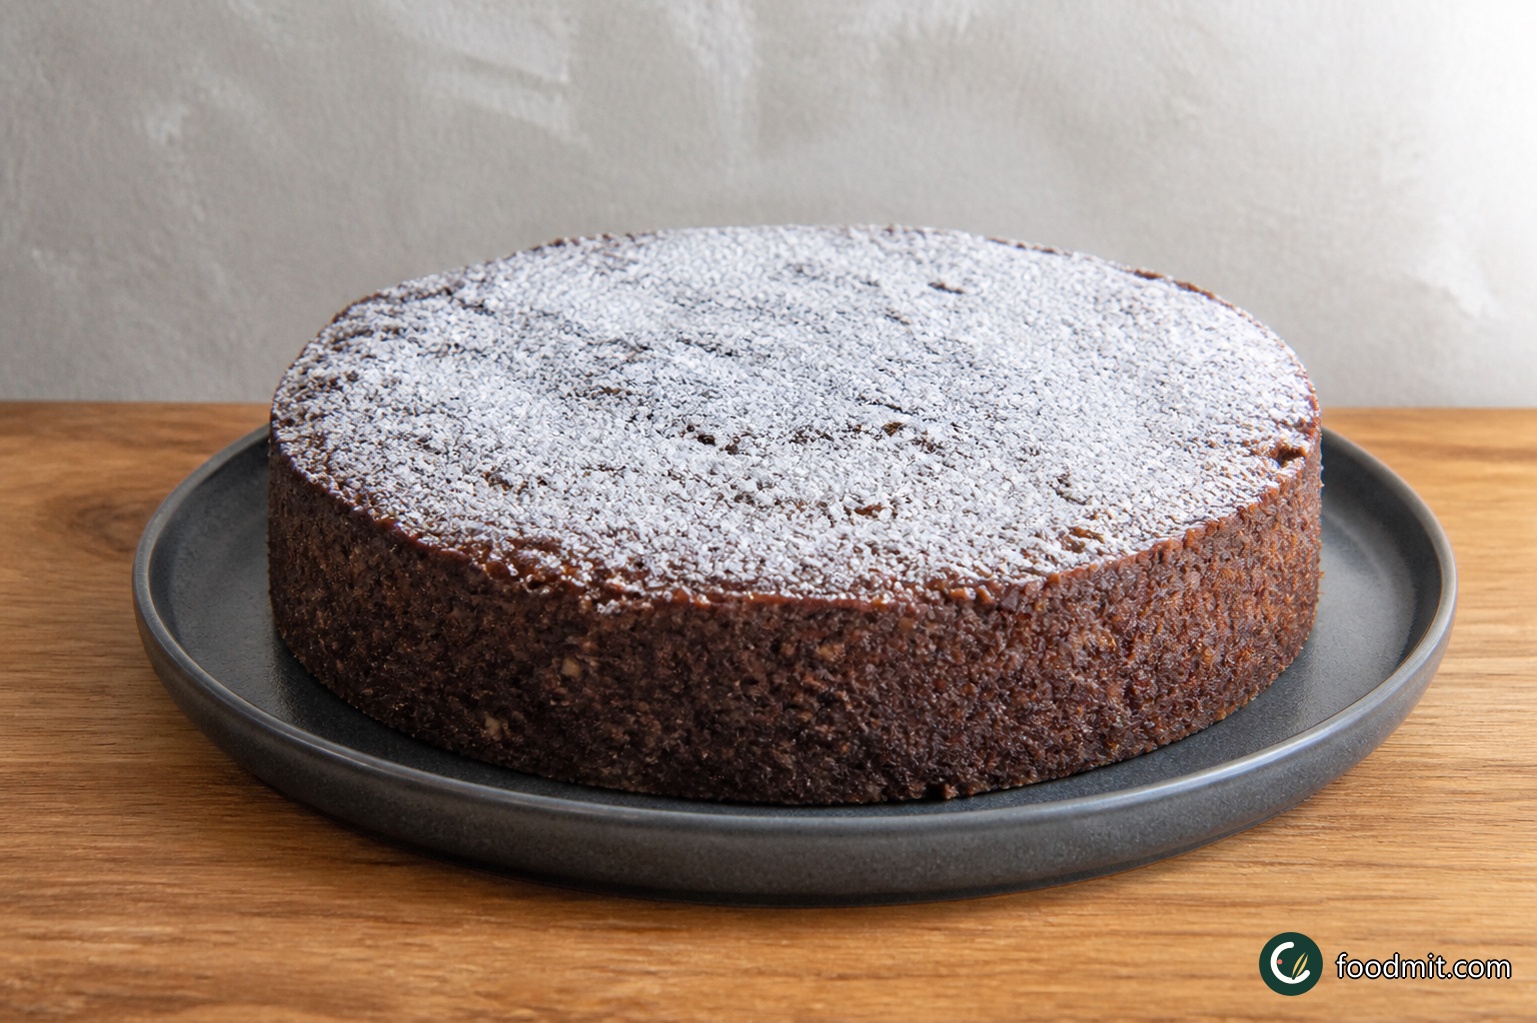
Leave the cake in its tin for a couple of minutes, then carefully turn it out onto a wire rack and let it cool completely. Dust the top generously with the icing sugar before serving. For storage, wrap the cold cake in foil, refrigerate it, and eat within two weeks; it may also be frozen, wrapped in foil.
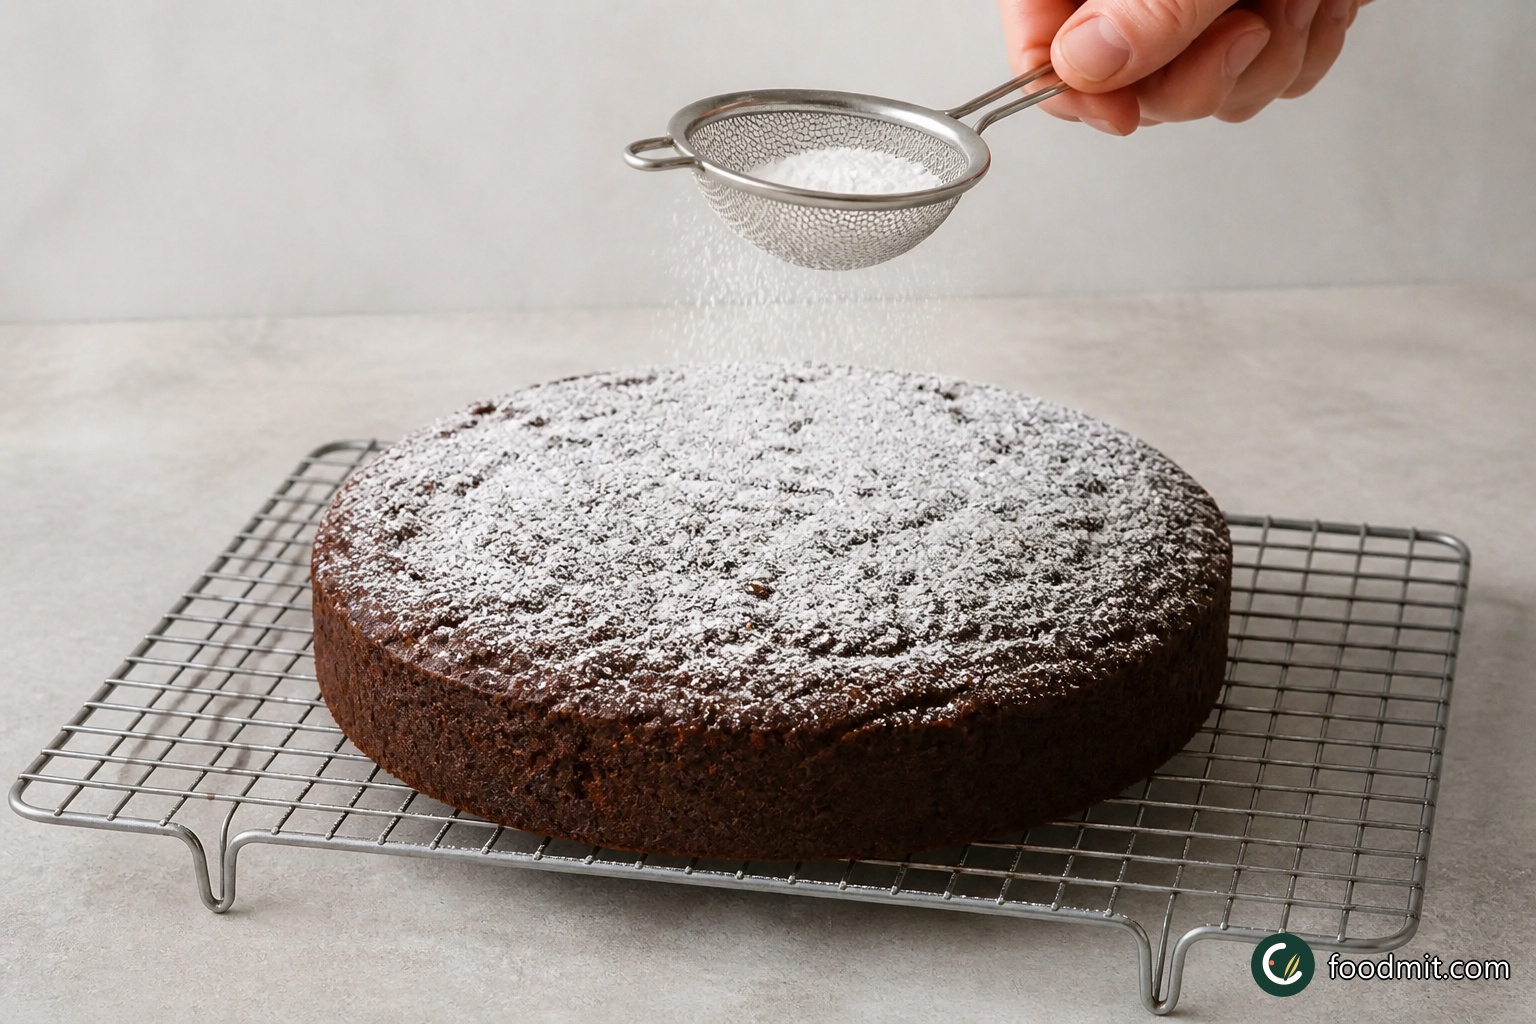
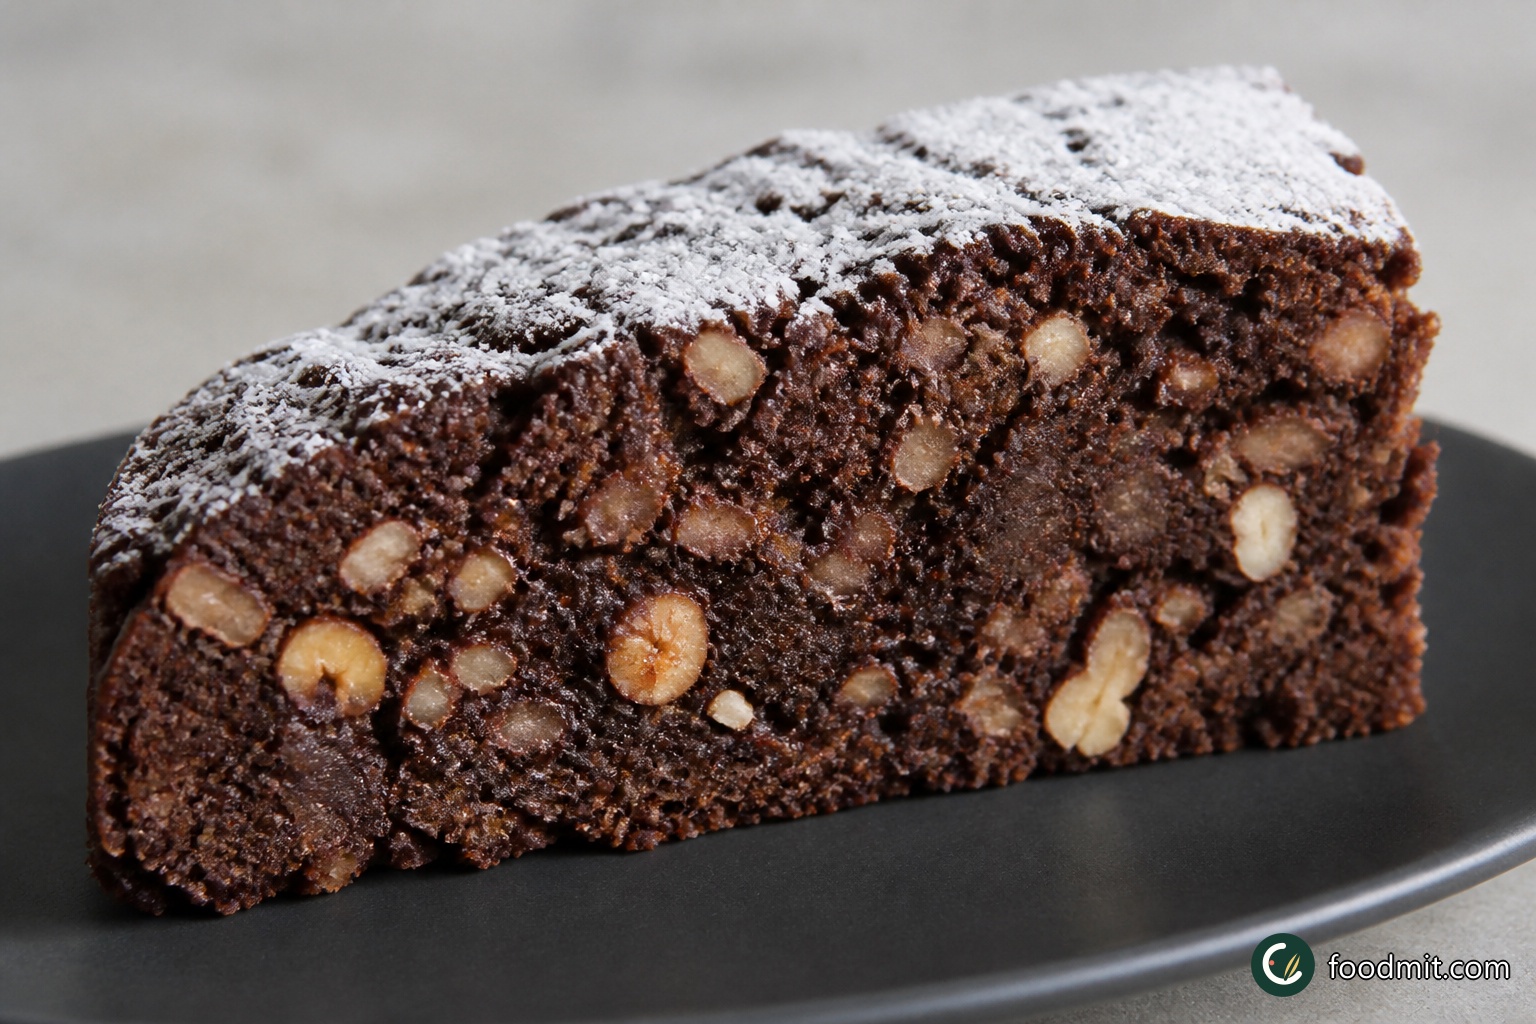
For neat portions through the dense, nutty crumb, use a sharp serrated knife and wipe the blade clean between narrow slices.
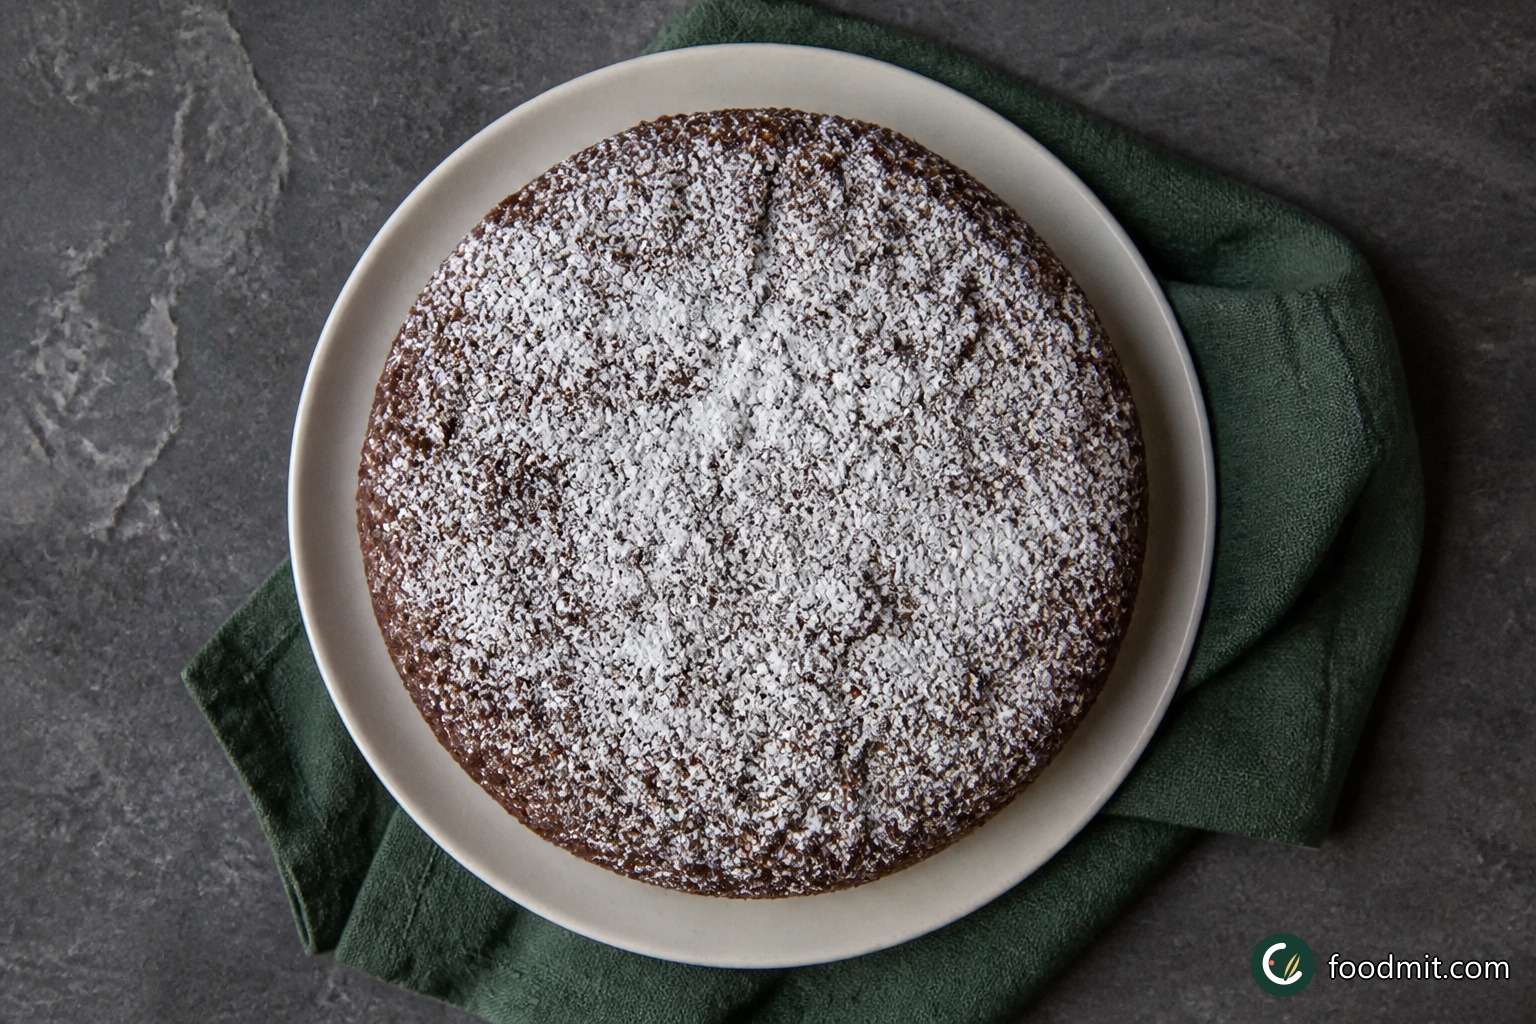
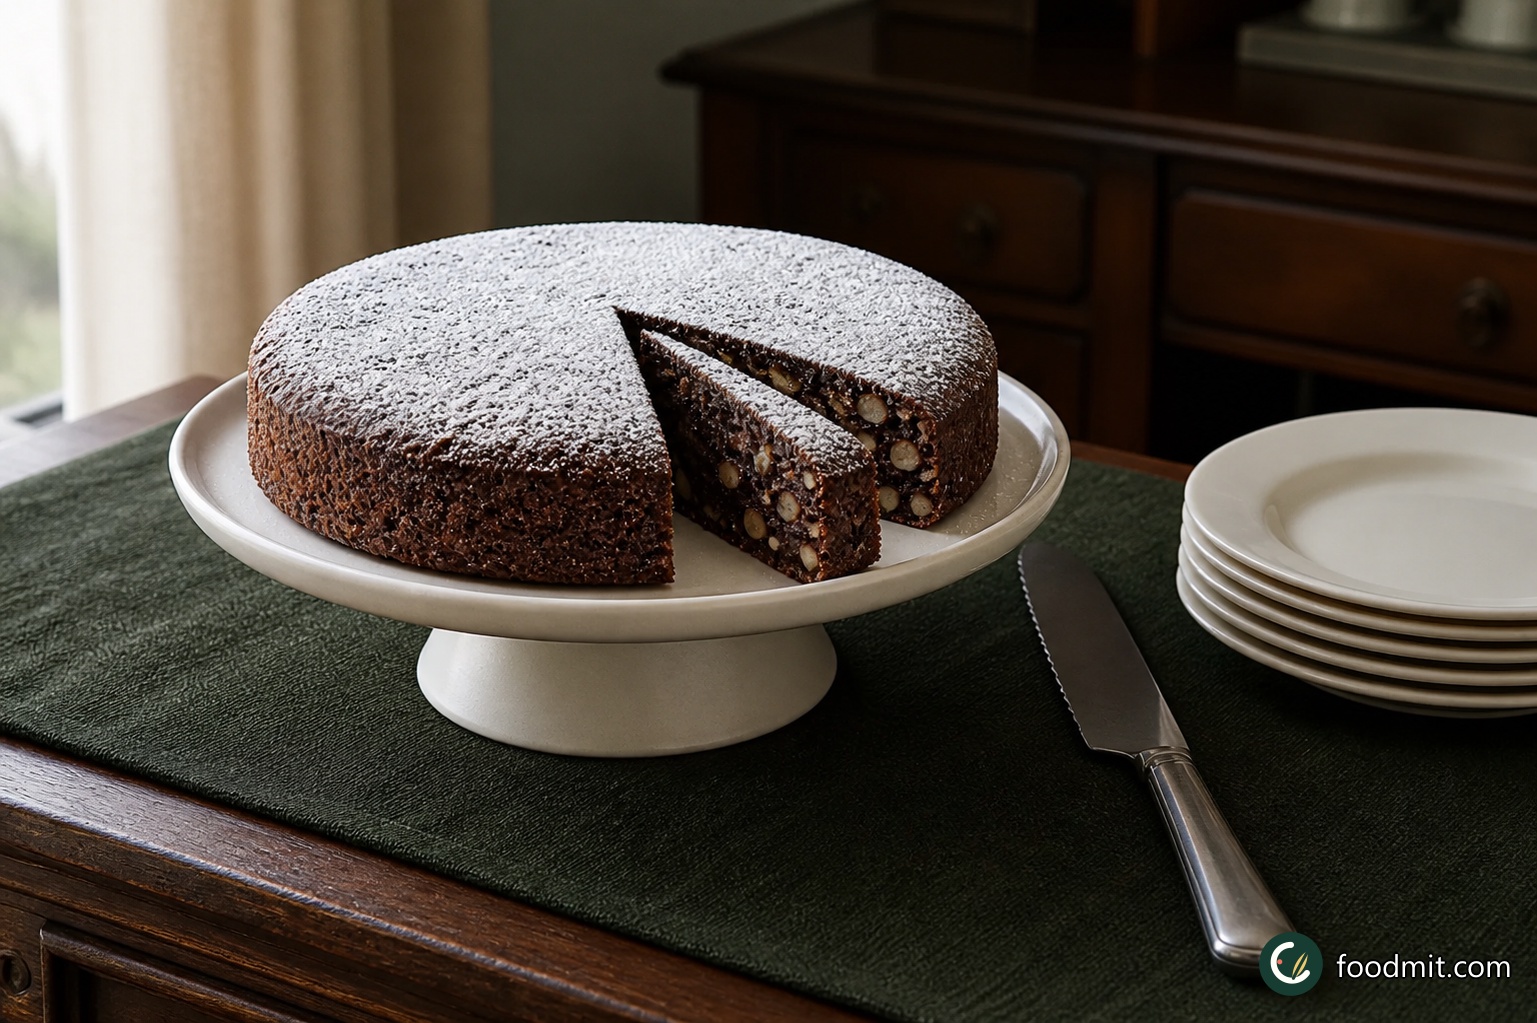
Italian Chocolate Nut Christmas Cake, ready to serve
Serving ideas for Italian Chocolate Nut Christmas Cake
Choose a presentation that fits the occasion, from relaxed sharing to individual plates.
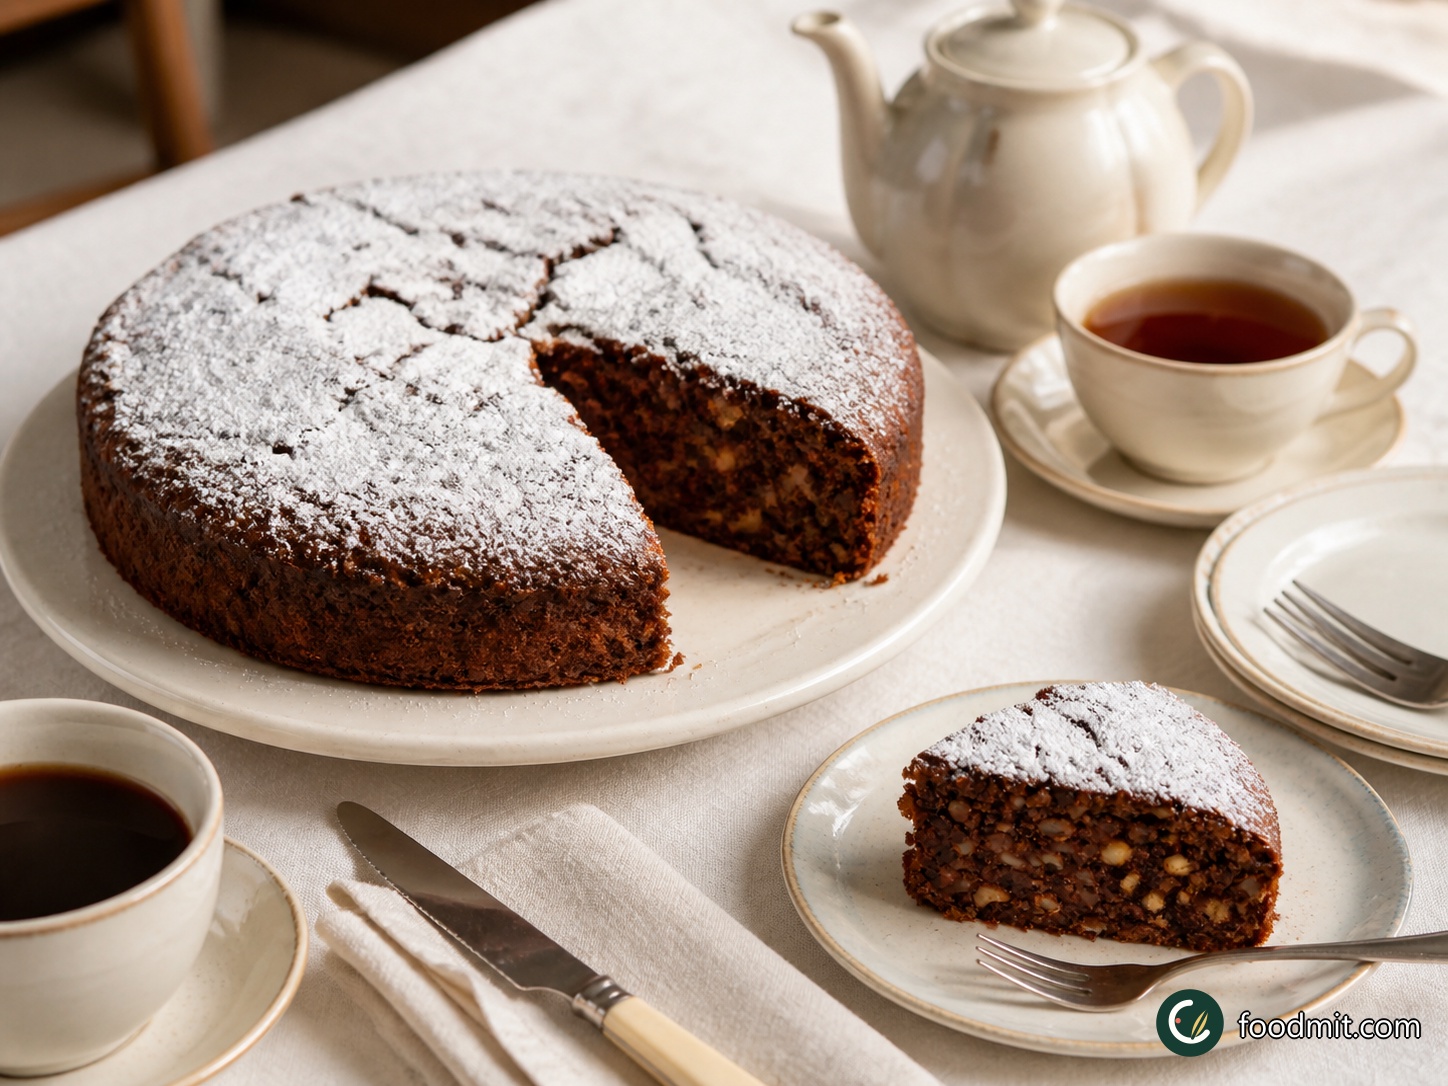
Christmas Tea Table
Set the whole sugar-dusted cake on a simple white or cream cake plate so its dark sides and snowy top provide the decoration. Cut narrow wedges and place them on small china plates with forks, a pot of black tea, and coffee for anyone who prefers it. This is the way I would serve it during a relaxed Christmas afternoon: the drinks balance the rich chocolate and nuts, while the orange and cinnamon still come through clearly. Keep the portions modest and let guests return for another slice if they wish.
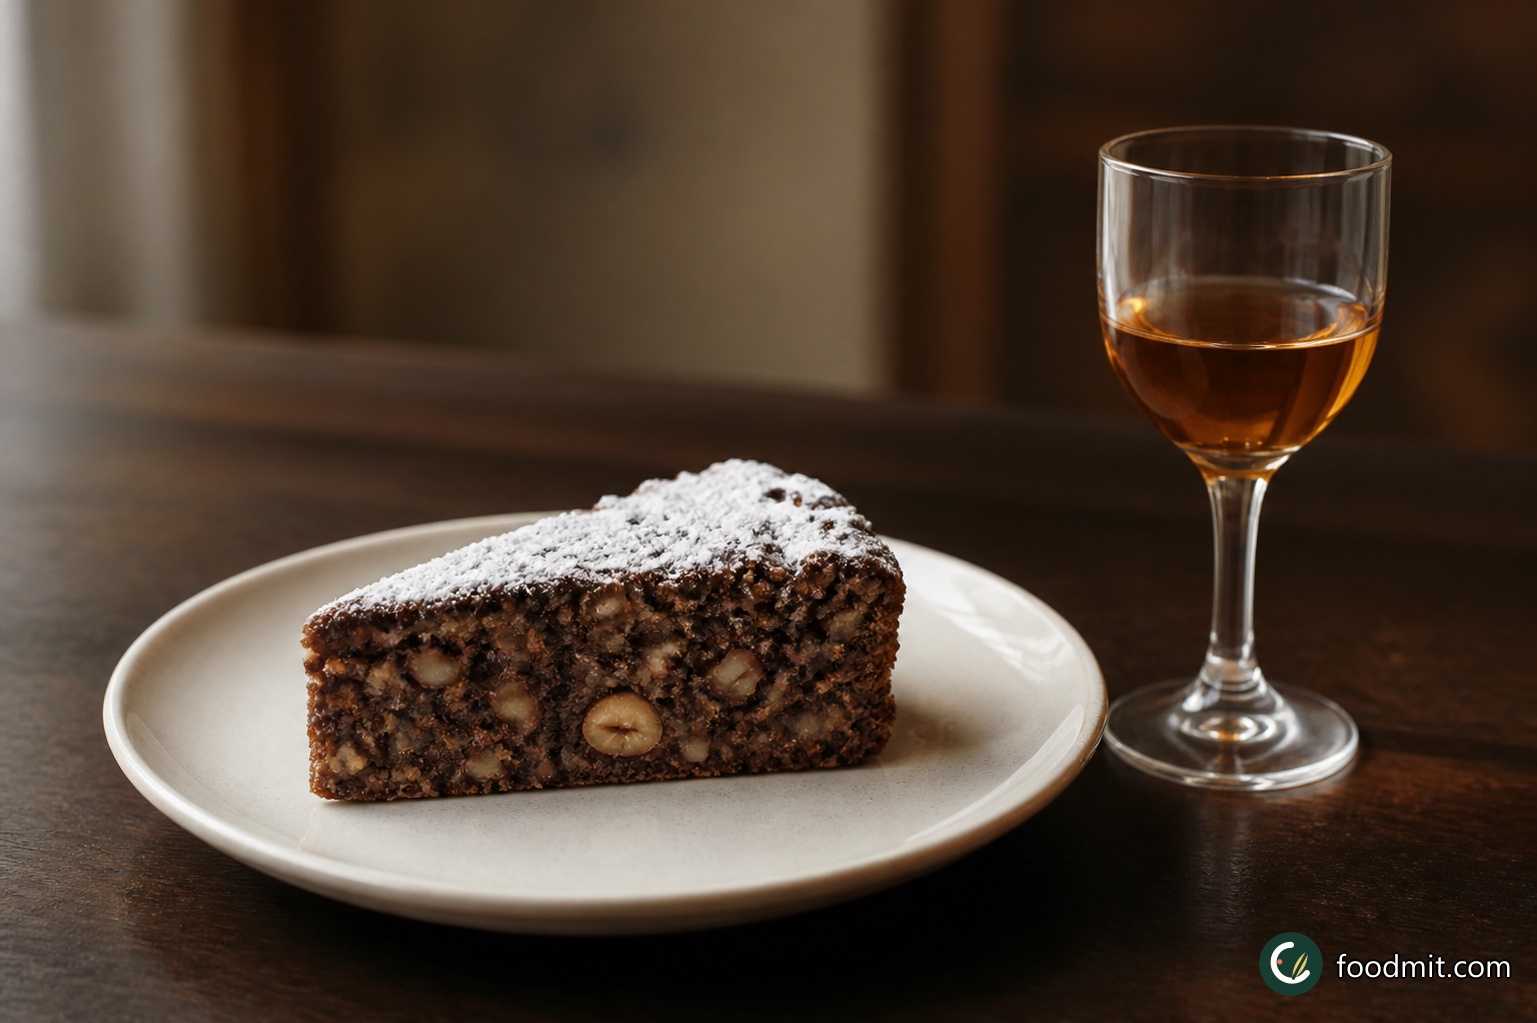
After-Supper Sweet Wine
For a quiet after-supper serving, place one slender wedge slightly off-center on a small, plain dessert plate and add a fresh dusting of icing sugar to emphasize the rough, nut-filled crumb. Pour a small glass of sweet wine alongside, as suggested with the original cake, and skip heavy garnishes that would compete with it. I like this presentation because it treats the cake as a compact dessert rather than a large frosted slice, giving the brandy, dark chocolate, and orange room to linger.
Make-Ahead Holiday Buffet
For a larger holiday gathering, center the uncut cake on a low stand and dust it shortly before it reaches the table, then set a serrated knife and a stack of small plates beside it. Once a few wedges have been removed, turn the cut side toward the room so the mosaic of hazelnuts, walnuts, and chocolate is visible. Because the cake is rich and keeps well when properly wrapped and chilled, I find this arrangement particularly useful for a buffet: it looks festive, can be prepared ahead, and is easy to portion as guests arrive.
Let’s cook Italian Chocolate Nut Christmas Cake together
Check off your ingredients, follow each step, and start the timers when you are ready.
Get everything ready
Step-by-step with timers
Prepare the oven and tin
Heat the oven to 180°C/350°F/Gas 4 and position a rack in the center. Generously grease a 20 cm (8-inch) loose-based round cake tin with the extra butter. Add the breadcrumbs, turn and shake the tin until the base and sides are evenly coated, then tap out the excess.
Process the nuts and chocolate
Put the hazelnuts and walnut pieces in a food processor, add the broken chocolate, and pulse in short bursts. Stop when everything resembles coarse, pebbly crumbs with visible small pieces; do not take it to a fine meal or paste. If working without a processor, chop the nuts and chocolate together carefully with a sharp knife.
Build the chocolate mixture
Tip the nut and chocolate mixture into a large bowl. Stir in the vanilla, brandy, cinnamon, melted butter, and golden caster sugar until thoroughly combined. Add the egg yolks gradually, mixing each addition in well, then stir through the finely chopped orange peel.
Whisk the egg whites
In a clean bowl, whisk the egg whites until they hold stiff peaks. Stop while the whites still look smooth and supple rather than dry or clumpy, since overwhipped whites are harder to fold into the dense chocolate base.
Fold and fill the tin
Using a large metal spoon, fold the egg whites into the chocolate mixture a few tablespoons at a time. Cut down through the center, sweep across the bottom, and lift the mixture over the top with a high, gentle motion. Continue only until no white streaks remain, then spoon the batter evenly into the prepared tin.
Bake until set
Bake on the center rack for 1 hour to 1 hour 10 minutes. Watch the surface near the end and lay a loose sheet of baking parchment over it for the final 10 minutes if it is browning too quickly. The cake is done when a cocktail stick inserted into the middle comes out dry.
Cool and finish
Leave the cake in its tin for a couple of minutes, then carefully turn it out onto a wire rack and let it cool completely. Dust the top generously with the icing sugar before serving. For storage, wrap the cold cake in foil, refrigerate it, and eat within two weeks; it may also be frozen, wrapped in foil.
The story behind Italian Chocolate Nut Christmas Cake
Recipe notes by Emily
Why I wanted to bake this cake
Delia Smith's Christmas recipes have a reassuring precision that I have admired for years, so this cake immediately caught my attention. Her version acknowledges Italian cookery writer Anna del Conte, and that connection made the combination of chocolate, nuts, citrus, and brandy even more intriguing to me. When I weighed the hazelnuts and walnuts, I realized this would be a nut cake in the truest sense, not an ordinary sponge with a handful stirred through. I followed the method closely and loved how the kitchen shifted from the bright scent of orange peel to warm chocolate and cinnamon as the cake baked. The plain icing-sugar finish also felt right: after such a substantial interior, it needed no frosting or fussy decoration.
What the method taught me
The part I watched most carefully was the texture before the batter went into the tin. My processor could have turned the nuts too fine very quickly, so I used brief pulses and checked after each one. Later, the chocolate mixture looked much heavier than the bowl of whites, but adding those whites little by little made the folding manageable. I kept the spoon moving down, under, and up rather than stirring in circles, and the baked crumb rewarded that patience with a gentle lift around all the chopped nuts. I also waited for a genuinely dry cocktail stick instead of judging by the dark top. Once the cake was cold, the icing sugar showed every crag beautifully. Its richness means one cake goes a long way, and the refrigerator and freezer guidance makes it unusually convenient to prepare well before a gathering.